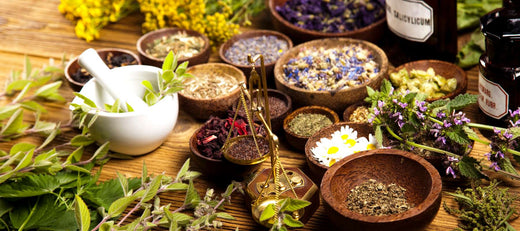


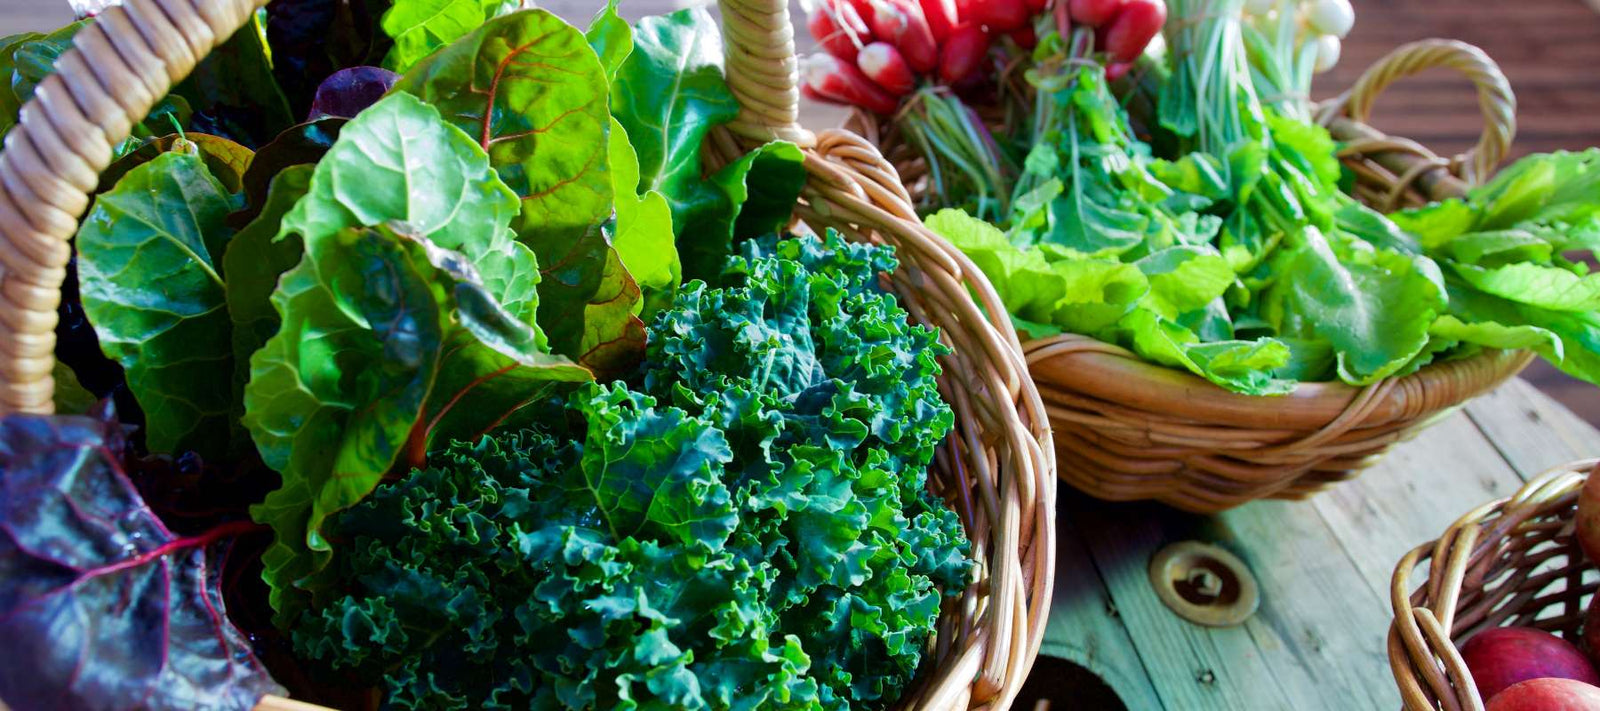
Quick-growing leafy greens let home gardeners enjoy fast harvests, plenty of vitamins, and a way to keep their gardens producing all year. You can grow the right types from seed to salad in just 20 days, whether in a balcony pot or a backyard patch. Knowing which greens grow best in each season and how to plant and pick them often will give you steady harvests and strong plants.
Quick-Start Guide to Growing Fast Greens
Choose Reliable, Rapid Varieties
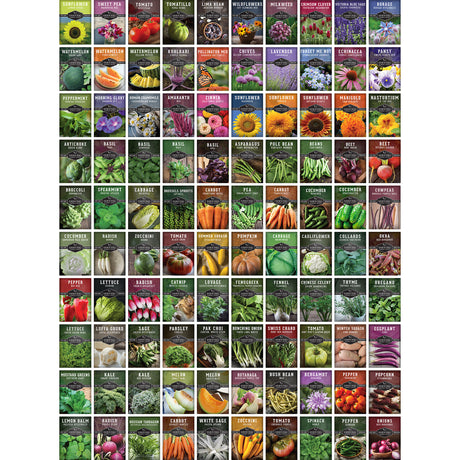
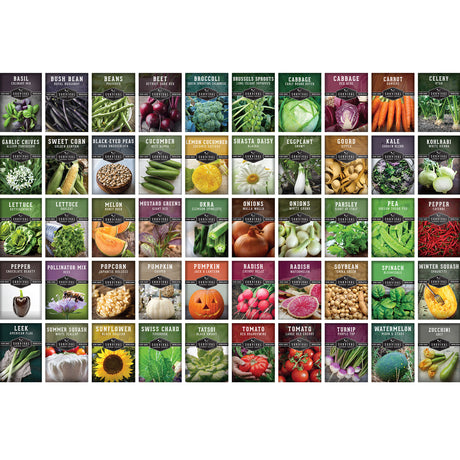
Not every leafy vegetable is built for speed. The fastest options share three traits: short days-to-maturity, tolerance of variable temperatures, and the ability to regrow after cutting. Arugula, garden cress, baby kale, and looseleaf lettuces mature in 20–35 days when grown for baby leaves. Asian mustards, tatsoi, and pak choi reach edible size just as quickly and add spicy or mild flavors that diversify salads.

Look for varieties described as “early-producer” or “cut-and-come-again.” For year-round harvests, stock at least two cool-season stars (spinach and arugula) and two heat-tolerant performers (mustard greens and New Zealand spinach).
Sow Densely, Harvest Young
Fast-growing greens do well when planted close together. Sprinkle seeds evenly over a prepared garden bed or container, then cover with a 1/4 inch layer of sifted compost. In outdoor beds, make shallow rows about 3/4 inch apart and sprinkle seeds like pepper along the row. The idea is to grow a thick mat of seedlings that you'll harvest before they start needing too many nutrients.
Regularly cutting the leaves encourages the plants to stay small and prevents them from going to seed too quickly. Snip leaves with scissors about 1 1/2 inches above the base; most types will regrow two or three times before they start to lose their flavor.
Provide Steady Moisture and Light Feeding
Fast-growing plants need a steady supply of water. Give them 1 inch of water per week in mild weather and up to 2 inches during summer. Drip lines or micro-sprayers keep leaves dry, which helps prevent plant diseases. Plants in pots dry out faster than those in the ground; check the soil moisture daily by poking a finger 1 inch deep into the potting mix.
Because greens are picked when they're young, they don't take a lot of nutrients from the soil. Mix a balanced organic fertilizer (like 5-5-5) into the soil when you plant, and spray the leaves every two weeks with seaweed or fish emulsion. This will keep them growing well without building up too much nitrate.
Time Your Plantings for Continuous Supply
To have greens year-round, plant new seeds in 10-15% of your garden space every 7-14 days. With succession planting, you'll always have new plants growing as older ones are ready to pick.
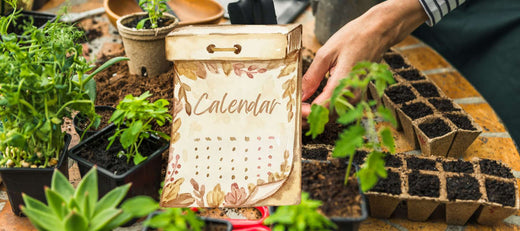
A wall calendar helps with planning. Mark the dates for the last spring frost, the hottest summer days, and the first fall frost. Then, count backward from these dates using the time it takes for seeds to grow into food. For empty spots, plant very fast-growing microgreens like radish, broccoli, or sunflower, which you can harvest in less than two weeks.
Season-by-Season Variety Playbook
Spring Sprinters
Cool nights and mild days are ideal for leafy greens that grow fast. Spinach, arugula, and mache (also called corn salad or lamb's lettuce) seeds will sprout in soil as cold as 40°F, so you can plant them as soon as the ground is workable. Kale types like ‘Red Russian’ quickly produce tender leaves when days are still short.

To take advantage of early warmth, cover your garden beds with a clear low tunnel or row fabric. This will raise the soil temperature by 5–9°F, making seeds sprout up to a week faster. Once the seedlings are established, remove the covers on sunny afternoons to prevent them from getting too hot and to help them grow strong, wind-resistant leaves.
Summer Speedsters
Hot temperatures and strong sun stress many lettuces, but some greens do well. Amaranth, New Zealand spinach, and purslane can handle 95°F heat and are ready in less than 30 days for baby greens. When it gets hot, plant seeds in the evening and water rows with cold water to help them sprout.
Shade helps them grow longer. Plant fast-growing greens under trellised cucumbers or sweet corn, or put up shade cloth overhead during the hottest weeks. A thick layer of mulch keeps the soil cooler and reduces water loss, letting roots grow into cooler soil.
Autumn All-Stars
When temperatures drop, the flavor of your greens gets better. Mustard greens, Swiss chard, and radicchio (red chicory) will taste sweet and nutty when nights are around 50°F. Plant your last warm-weather crops six weeks before the first frost, then switch to plants that can handle the cold, like tatsoi and chard.
Shorter days mean you need to get the most sunlight. Plant taller crops on the north side of your garden beds and trim back any perennials that are creating shade. Floating row covers will keep in leftover warmth and protect against flea beetles that came back after summer.
Winter Winners
In places with mild frosts, you can use covers to grow greens all winter. Cold frames, unheated greenhouses, and even sunny windowsills create small warm spots where mâche, Swiss chard, and lettuce can be ready to pick in 40 days, even with little sunlight.
For colder places, sow spinach and kale in late fall and let them grow almost fully before deep winter. With thick covers and plastic tunnels, you can pick leaves every week without more growth, giving you fresh salads until mid-winter.
Soil Preparation and Bed Design
Build a Nutrient-Rich, Fluffy Foundation
Fast-growing greens prefer loose, rich soil where their roots can spread quickly. Improve your soil by mixing in 2 inches of screened compost and 0.5 inches of worm castings, then loosen it with a fork to a depth of 8 inches. Raised garden beds warm up earlier in the spring and allow extra water to drain, which helps prevent seedlings from rotting in densely planted areas.

For pots, pick a potting mix that doesn't contain peat. Instead, use a mix of 40% compost, 40% coconut coir, and 20% perlite or rice hulls. This combination holds enough moisture while still draining well, and it provides the helpful microbes needed for plants to get their nutrients.
Use Successional Spacing Patterns
Dedicated “salad tables” or shallow boxes allow knee-high farming that is both ergonomic and productive. Divide the surface into four sections; reseed one section each week for continuous turnover. In open ground, a simple grid of 6 inch squares accommodates dense greens and keeps rows identifiable for targeted watering.
Companion planting enhances efficiency. Radishes occupy similar spacing and mature even earlier than most greens, loosening soil as their roots swell. Once harvested, the space becomes ready-made for new green sowings.
Pest and Disease Management Without Chemicals
Physical Barriers First
Bugs like leaf miners, slugs, and cabbage loopers love soft green leaves. To stop them, cover your plants with a light insect net right after planting. Make sure the edges are sealed with dirt or U-shaped pins so bugs can't get in. For slugs, wrap copper tape around the top of pots; it gives them a small shock that keeps them from climbing.
Good gardening habits also help reduce pests. Water your plants in the morning instead of the evening so the leaves dry fast. Also, quickly remove any dying outer leaves, as they give pests a place to hide.
Biological and Organic Reinforcements
If caterpillars get through, use Bt (Bacillus thuringiensis) spray. It kills larvae but not helpful bugs. In spring, put good worms in the soil to stop cutworms. For aphids, first spray them with strong water, then with a 2% soap mix.
Fungal diseases like downy mildew (spinach) and powdery mildew (chard) grow in crowded, wet places. Cut nearby plants to get more air. Plant susceptible plants next to ones that don't get the disease, like scallions. Spray leaves weekly with a mix of baking soda (½ teaspoon per liter of water plus a drop of soap) to stop spores from growing.
Harvesting Techniques for Maximum Yield
Cut-and-Come-Again Method
Using rubbing alcohol to clean your scissors, cut leaves 1 1/2 inches above the soil. Leaving the center of the plant intact allows it to grow back quickly, often giving you a second harvest in just 10–14 days. Move where you cut to avoid over-harvesting individual plants.

For a good salad mix, include different sized leaves. Bigger, outer leaves have more minerals, and younger, inner leaves taste sweeter and milder. Harvesting both at the same time makes your salad more nutritious and flavorful.
Whole-Head Harvests
Some greens like pak choi and baby romaine are best harvested by cutting the entire plant when their heads are about 5–6 inches tall. Slice them at the soil line with a sharp knife, leaving the roots to break down and enrich the soil. You can then immediately plant new seeds or a seedling in that spot.
To ensure a steady supply, plant small groups of the same type of greens every week. This method helps you get consistent head sizes when you're ready to cook and prevents your fridge from getting too full.
Nutritional Highlights and Culinary Uses
Dense Micronutrient Profile
Fast-growing greens have just as many nutrients as slower-growing ones. For example, arugula has a lot of calcium, baby kale is full of vitamins A, C, and K, and spinach has more iron than anything else. Harvesting leaves often and in small amounts keeps them full of good nutrients, which decrease as the leaves get older.
Red-colored varieties, like 'Red Giant' mustard and scarlet kale, have antioxidants. So, mixing different colored greens in your salad makes it look better and gives you different nutrients.
Kitchen Inspiration Across Seasons
Arugula in spring is good in lemon-ricotta tarts. Amaranth greens in summer can be cooked like spinach. In fall, mustard greens add a peppery taste to grain bowls. Winter spinach can be blended with roasted garlic and vegetable stock to make a bright soup.
To prepare them raw, quickly rinse the leaves in cold water, spin them dry, and keep them in a sealed container with paper towels. Salads dressed lightly will stay fresh for two days, so you can make them ahead of time.
Advanced Techniques to Push Production
Microgreen Cultivation
Microgreens are tiny plants you can eat just 7 to 14 days after planting. They're packed with nutrients. To grow them, put seed-starting mix in a shallow tray, sprinkle a lot of seeds on top, and mist them with water twice a day. Cut the stems just above the soil when the first leaves open but before the next set of leaves appear.

Planting new seeds every three days will give you a steady supply of microgreens to go with your bigger greens. Good microgreens to grow quickly are broccoli, kohlrabi, and purple radish, and their flavor is much stronger than the full-grown plants.
Hydroponic Speed Growing
Fast-growing greens thrive with hydroponic methods like Nutrient Film Technique (NFT) or Kratky systems, which feed roots directly with oxygen-rich nutrient water. For leafy plants, use half-strength General Hydroponics solutions, keeping the electrical conductivity (EC) around 1.4 mS/cm and pH between 6.0 and 6.4.
With full-spectrum LED lights, lettuce can be ready in 18 days, no matter the outdoor weather. Indoor hydroponics need careful temperature control (65-72 °F) and good airflow from fans to stop leaf tips from burning.
Troubleshooting Common Challenges
- Bolting (premature flowering): Often triggered by heat or long days. Switch to bolt-resistant varieties, provide afternoon shade, and keep soil moisture stable.
- Yellowing leaves: Indicates nitrogen deficiency or waterlogging. Amend soil with composted poultry manure and verify drainage.
- Damping-off of seedlings: Caused by fungi. Sterilize trays, use fresh mix, and improve ventilation.
- Bitter flavor: Develops in older leaves or drought-stressed plants. Harvest younger foliage regularly and water regularly.
- Slug damage: Evident as irregular holes and slime trails. Combine beer traps, copper barriers, and dusk hand-picking.
Bringing It All Together
With a bit of planning and the right care, you can grow fresh greens all year round, not just in spring. Start by focusing on one season, then adjust your planting times, and try new types of greens to keep things interesting. From snow-blanketed gardens coaxed to life under plastic to heat-scorched balconies shaded for abundance, fast-growing greens deliver unmatched flexibility to gardeners eager for rapid, nutritious harvests.